This article only applies to clinics that have been approved for UnifiedPay.
Supported Payment Devices
UnifiedPay supports the following payment devices:
- PAX A77 Wireless Terminal
- PAX A920 Pro Wireless Terminal
- SREDKey2 Card Reader
Important: Payment devices used with UnifiedPay must be purchased or leased through UnifiedPay. Devices obtained from other vendors or payment processors are not compatible with UnifiedPay.
Taking a Payment
Step 1: Navigate to the Payment Screen
-
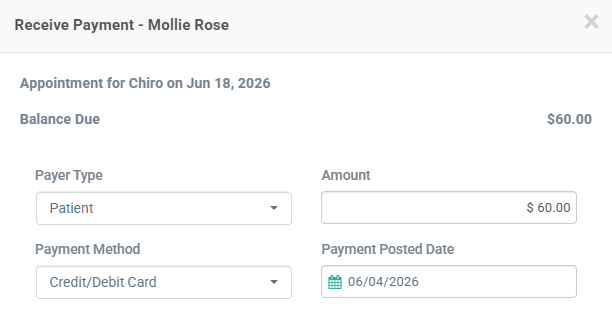
Navigate to the patient's appointment and select Receive Payment.
Step 2: Review the Payment Details
- Payer Type: Patient
- Payment Method: Credit/Debit Card
- Amount: Leave as is unless collecting a partial payment
- Payment Posted Date: Leave as is unless backdating the payment
Step 3: Select a Payment Method
Under Charge New Card, choose one of the following options:

Send to [Terminal Name]
-
- Available when using a PAX A77 or PAX A920 Pro terminal.
- The payment will be sent directly to the terminal for the patient to complete using chip, tap, swipe, Apple Pay, or Google Pay.
Swipe
-
- Available when using a SREDKey2 card reader.
- Place your cursor in the swipe field before swiping the card.
- Once the card is swiped successfully, the encrypted card tokenswill appear in the field.
Key In
-
- Manually enter the card information.
Use an Existing Card on File
-
- Select a previously saved card from the dropdown menu.
- Then click 'Charge Card on File'
Step 4: Save the Card (Optional)
-
- For Key In and Swipe transactions, Save card for future payments is selected by default. Uncheck the box if you do not want to save the card on file.
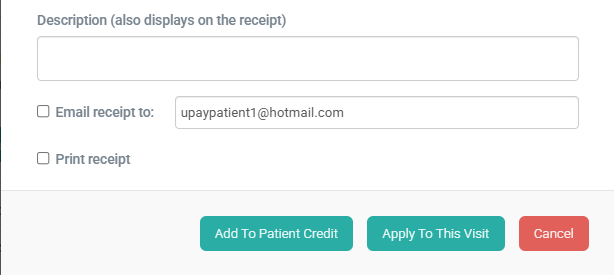
Step 5: Receipt Options (Optional)
If desired, select:
-
Email receipt to send a receipt to the patient's email address.
-
Print receipt to print a receipt after the transaction is completed.
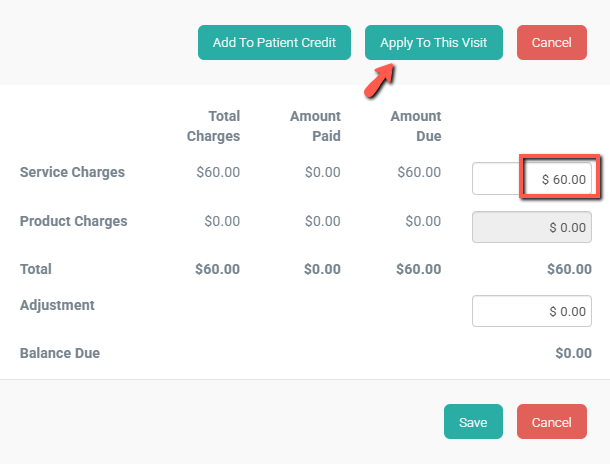
Step 6: Complete the Payment
- Enter the amount being collected in the appropriate Services and/or Products field.
- Click Save.
- Verify that the amount appears in the Apply To This Visit section.
- Click Apply To This Visit to complete the payment.
- Once the payment is successful, the balance for the invoice will be updated to reflect the payment.