Setting Appointment Statuses
Steps on how to set Appointment Statuses
Jump to:
Setting Appointment Statuses:
- To set the Appointment Status navigate to the Calendar, locate the Appointment, click the Edit icon or double click the Appointment to enter the Appointment Details.
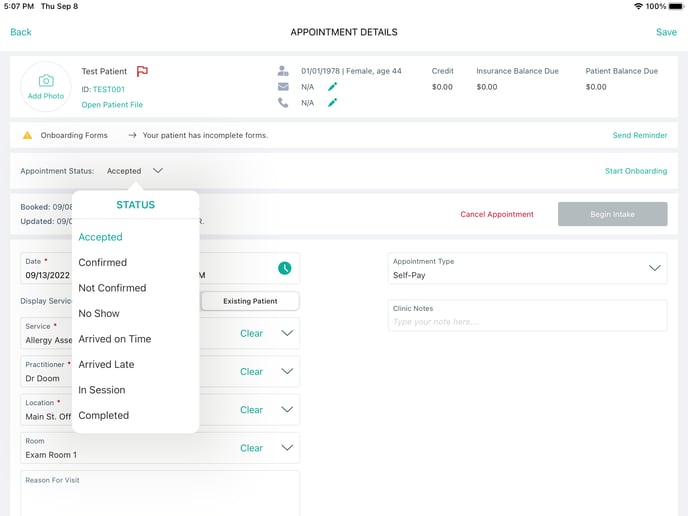
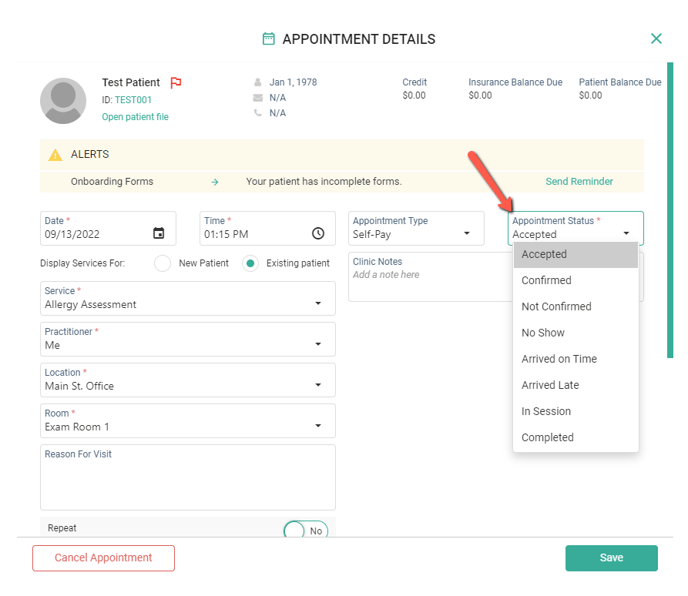
- Locate Appointment Status and click the drop down menu and select a status. Click Save to update the Appointment and reflect the change.
iPad view:
- On the iPad App, the Appointment Status will display below the Alerts on the left hand side.

Web view:
- On the Web platform, the Appointment Status will be shown below Alerts located on the right hand side.
